
Welcome back to Assigned Access April!
If you’re just joining us, we’re spending the entire month of April geeking out over everything Assigned Access on Windows 11. Haven’t caught up yet? Start here with the earlier posts in the series:
- Assigned Access Development Tips and Tricks
- Video walkthrough of XML testing on workgroup computers
- Exclusive Interview with Nick, an Intune Engineer at Microsoft
Today we’re tackling one of the most critical pieces of a production kiosk: the CSP policies and Settings Catalog configurations that sit alongside your Assigned Access XML and Autopilot enrollment status page.
Getting the XML right is only half the battle. The real magic (and the real headaches) happen in the complementary policies you push through Intune. These are the settings that make or break auto-logon, keep users locked in, and give your helpdesk just enough breathing room to support the devices without constant escalations. It is important to note that the Assigned Access configuration comes with a preset CSP configuration – pushing configuration profiles that conflict with these base settings may render the kiosk to a broken or unstable state.
Before I roll out any self-deploying kiosk Autopilot profile, I always validate two things:
- Does my Assigned Access XML contain every CSP I expect?
- Are there any hidden conflicts that will quietly break auto-logon or the kiosk experience on day two?
Below are the most common use cases I get asked about, the gotchas I’ve personally hit (and fixed), and at the end I’ll hand you my personal baseline Settings Catalog template so you can quickly audit any new environment.
A Quick Philosophy Reminder (Because It Matters)
We’re working inside a restricted shell — not a full desktop. As Nick reminded us in the interview, think “secure by design, need-to-know basis.” Don’t throw 50 unqualified CSPs at the kiosk device just because you can. Every unnecessary UI element or clickable artifact is an invitation for users to break out of kiosk mode.
Instead, focus on:
- What your end users actually need to do
- What your service desk actually needs to support
- Documenting what you deliberately left disabled so future conflicts are easy to troubleshoot
Train your helpdesk on Assigned Access. AI chatbots will send them down rabbit holes. Real comfort with the technology is the only way this scales. So lets take a look…
Use Case 1: OneDrive Sync App Showing in the System Tray
Problem: OneDrive keeps popping up and consuming local drive space on shared kiosks.
This CSP quietly restricts the OneDrive sync client without full removal. Super clean and reliable and you can rest assured that you will be controlling this behavior the right way!
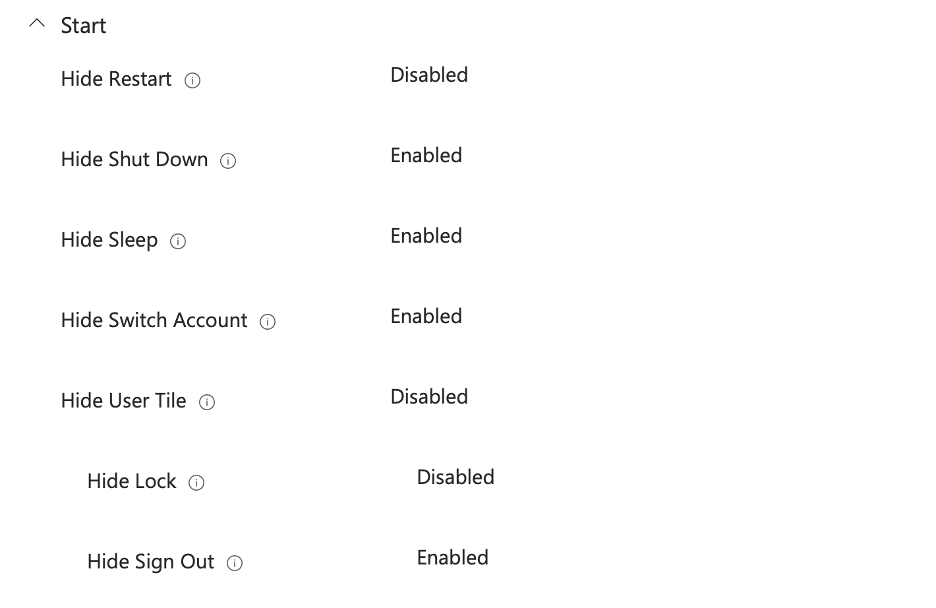
Use Case 2: Limiting System Breakout Points (While Keeping Helpdesk Sane)
You want users locked in, but you also want the device to be supportable.
My rule of thumb: Pick exactly one shutdown option and one lock option. For me it’s:
- Allow Restart (so users can fix minor glitches themselves)
- Allow Lock (Win + L or Ctrl+Alt+Del)
Achieved with a mix of:
This gives just enough diagnostic capability without handing users the keys to the kingdom. 🦁
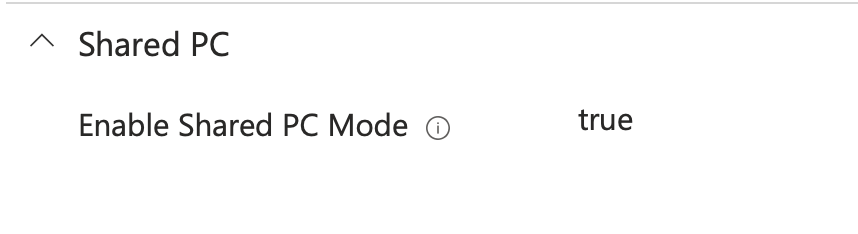
Use Case 3: Always-On Screen & Desktop Experience (Autologon Enforced)
Classic kiosk request: kioskuser0 should auto-logon and the device should never lock.
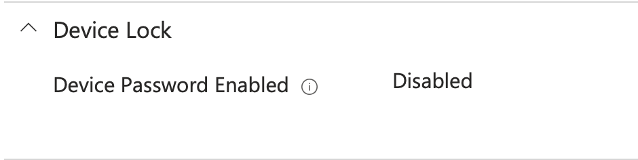
Here’s the kicker: Push a Device Lock policy by accident and you’ll break autologon. The only fix is usually an Autopilot reset.
In Settings Catalog I do two things:
- Add the relevant ADMX template settings to ensure always on behavior of the system and screen
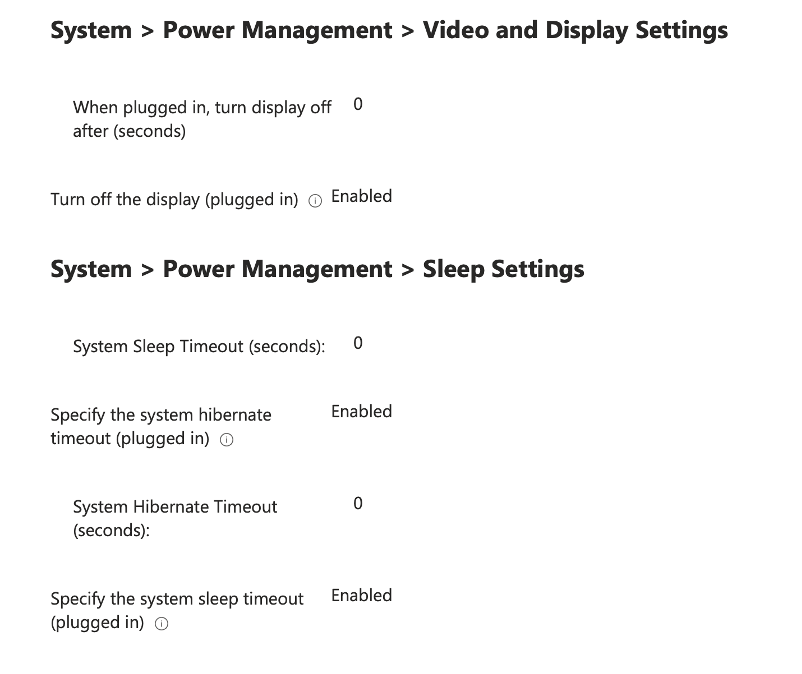
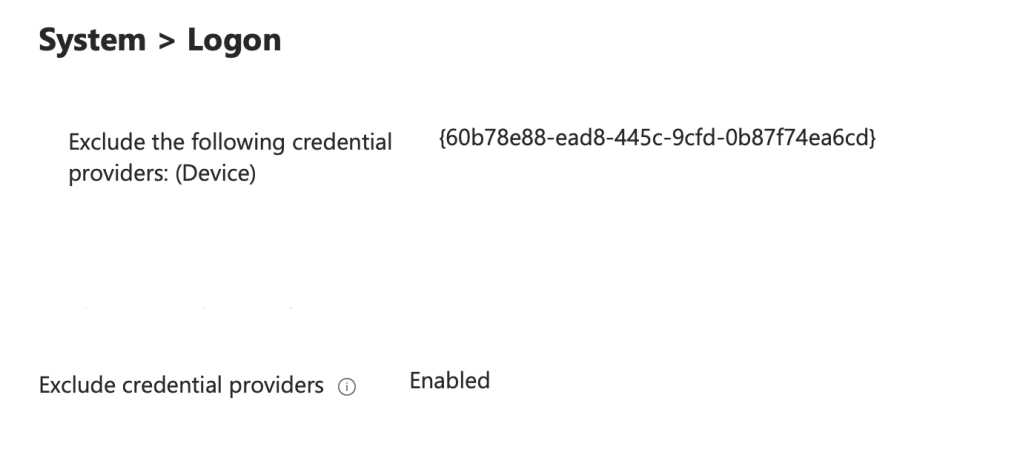
- Explicitly set System > Logon ADMX & Device Lock CSPs to Disabled (and document it!)
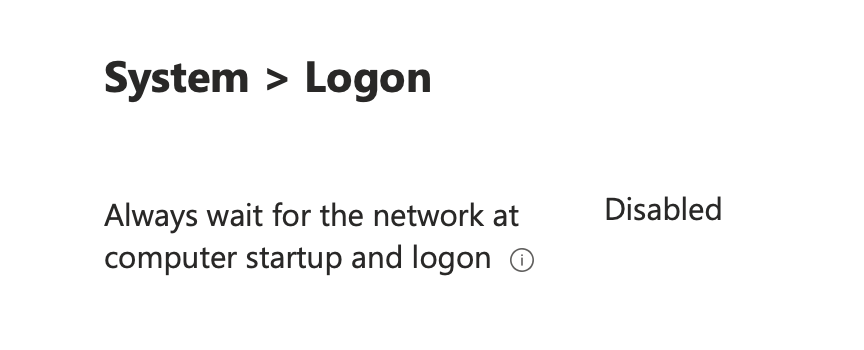
📓 Documenting the “we deliberately turned this OFF” settings has saved me hours of troubleshooting. Configuring this setting will allow us to quickly assess and analyze future policy conflicts and accurately track configuration drift away from the expected value to keep autologon functional.
Use Case 4: Restrict All Domain Users vs. Restrict Some Domain Users
Two paths — both can lock you out if you’re not careful with ESP timing. Take a look at both options and test accordingly, I find it best to use Option 2 – however some organizations prefer the approach of Option 1; the choice is ultimately yours to make. These both require the use of a Local User Group Membership profile, found in Endpoint Security → Account Protection → + Create Policy, and a User Rights CSP policy.
Option 1 – Block Everyone Except Power Users
- Account Protection → Local User Group Membership: Add kioskuser0 (and any other needed local accounts) to Power Users
- User Rights → Allow Local Logon = Administrators, Power Users

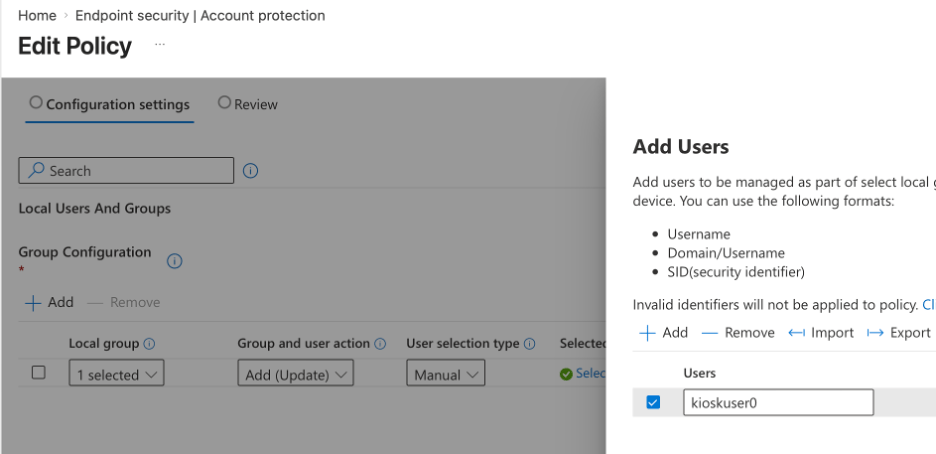
Option 2 – Block Specific Entra ID Users/Groups (My Preferred Route)
- Account Protection → Local User Group Membership: Add targeted Entra ID users/groups to the Guest group

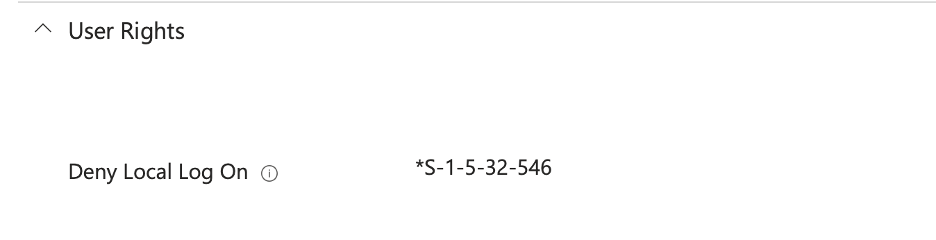
- User Rights → Deny Local Logon = *S-1-5-32-546 (Guest SID)
Pro tip: Skipping the User ESP (very common practice!) or rebooting mid-enrollment can break the authentication chain and result in machines losing the ability to check in with Intune.
Use Case 5: Passwordless / MFA Logon Enforcement (Conditional Access Backed)
Windows 11 now lets you enforce web-sign-on and remove the password field entirely.
Perfect for kiosks as a first step into phishing-resistant auth. Just know: 🔐 LAPS and ✅ Autologon will break with this enabled, so plan accordingly. This will effectively block all local user logons so this is going to be a protected internal-use kiosk device.
🚨 You should NOT implement Entra ID access on public facing kiosks – this can inadvertently expose domain resources if not configured properly!
I’ve had great lab success using this with the Windows 365 app as an SSO test. Zero Trust level-up achieved and way better than exposing domain resources to a username and password combination.
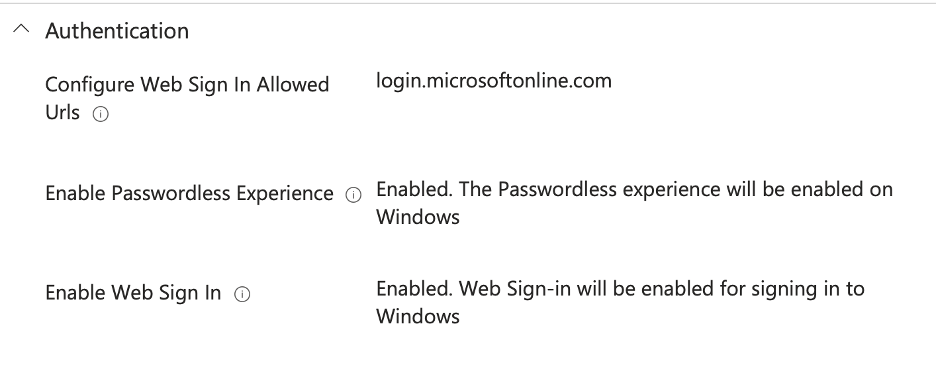
The following CSP policy will remove the password option from the logon screen:
Use Case 6: Edge Kiosk CSPs & the Multi-App Paradox
Edge has excellent kiosk-specific CSPs… but they only fire when Edge is launched with the proper command-line switches.
Single-App mode makes this automatic. Multi-App mode requires you to pre-stage a custom Edge shortcut that includes the kiosk parameters.
Here’s the PowerShell script I use to deploy that shortcut via an Intune Platform Script. You can then reference it in your Start Menu/Taskbar XML. These following CSPs compliment Edge Kiosk mode very well once active!
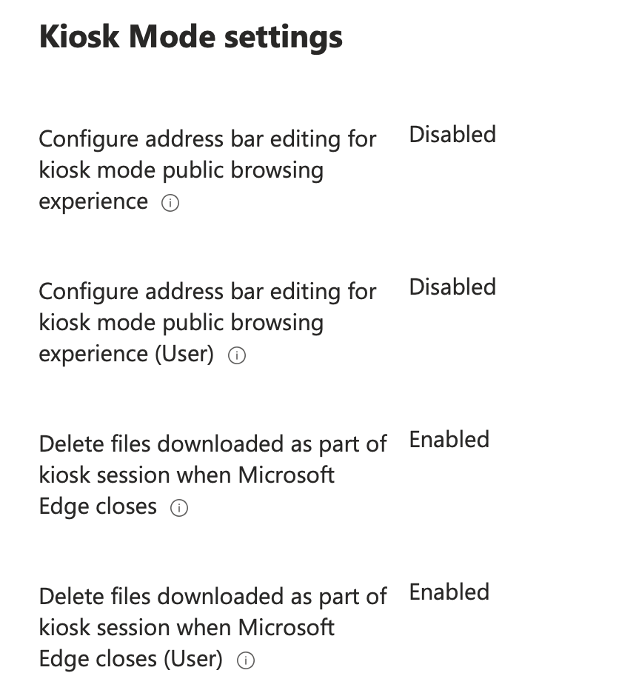
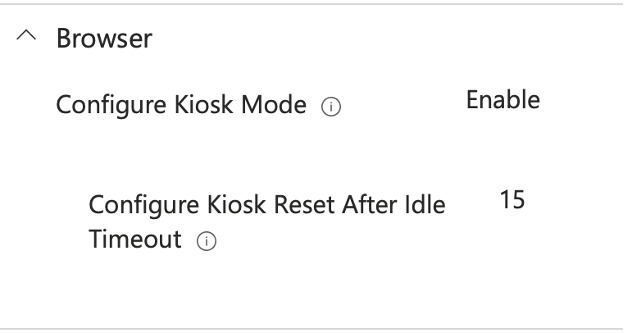
Setting Highlight: “Configure address bar editing for kiosk mode public browsing experience” — this one is gold 🏅. Restricts navigation without needing a massive allow/deny URL list. Much easier long-term management.
Wrapping up…
That’s my go-to CSP toolkit for making Assigned Access kiosks actually production-ready. I have uploaded the export of these setting on this blog’s GitHub, so upload the policy set to your Kiosks and test out the configs for yourself!
Got a use case I didn’t cover? Drop it in the comments — let’s keep building out the definitive Assigned Access playbook together. The month of Assigned Access is halfway over but we still have plenty more to cover before it’s over!
Until then, keep those kiosks locked down and your helpdesk happy.
— Kevin Malinoski malinoski.me

Leave a comment